Ahhhh...deodorant. It's one of those things you just have to use. Well in this climate you do. I live on the Centeral Queensland Coast of Australia. It's hot and it's very humid here, especially now with all the wet weather we've had. You wake up in the morning and you're feeling sticky. So you get up and have a cold shower, get dressed, and 10 minutes later, you're feeling sticky again. Gotta love it though! This is a beautiful part of the world.
I'm not a heavy sweater, thank goodness, and for the last year or so, I haven't worn any deodorant (aaaahhh!!!!!!!! it's OK, i do shower every day !! ). Reason being,
1. I refuse to buy a commercial deodorant that contains too many ingredients that I can't pronounce,
2. My 'natural' crystal deodorant shattered, and I just never got around to buying another one, coz I figured it would shatter too. And it hurts trying to rub fragments of shattered crystal on your arm pits - really, it does !!
3. I was too tight to spend money on a chemical free - green - type deodorant from the health shop, becuase I knew deep down that I could find a recipe and make one myself. I'm a bit like that.
So....I finally got around to making one. Last year actually. Around about October, so I've been testing it for almost 4 months now during the hottest and most humid part of the year, And the verdict - I'm very happy. It's easy to make, cheap to make, easy to use, and I can pronounce the names of all the ingredients - that's the BEST part! OK, so lets get down to it.
There are lots of different recipes out there but the one I liked and tried was
this one from the Angry Chicken blog. Why? I had all the ingredients, and I love shea butter and cocoa butter on my skin because they feel so luxurious. Yes, even under my arms that matters.
(Please note that I have changed the recipe a bit, so check the above blog for the original recipe. I chose to omit the Vit E, and essential oil, and I added some glycerin.)
The recipe:
2 Tblsp Cocoa Butter
3 Tblsp Shea Butter
3 Tblsp Baking Soda
2 Tblsp Cornflour
1 tsp glycerin (optional)

Melt the cocoa butter in a double boiler, or a set up similar to what I did here.
When it's melted take it off the heat and add your shea butter. Stir it in to melt.
Note: Shea butter may become grainy if heated for too long. That's what happened to the batch I made for christmas presents, but I didn't know that then!!

Now add your baking soda, cornflour and a teaspoon of glycerin.
Sift the baking soda if it has lumps. Trust me, it will make your life so much easier!
And don't be afraid to enlist the help of a little 'stirrer'. She will love you for it.
Let her stir until is is completely smooth.
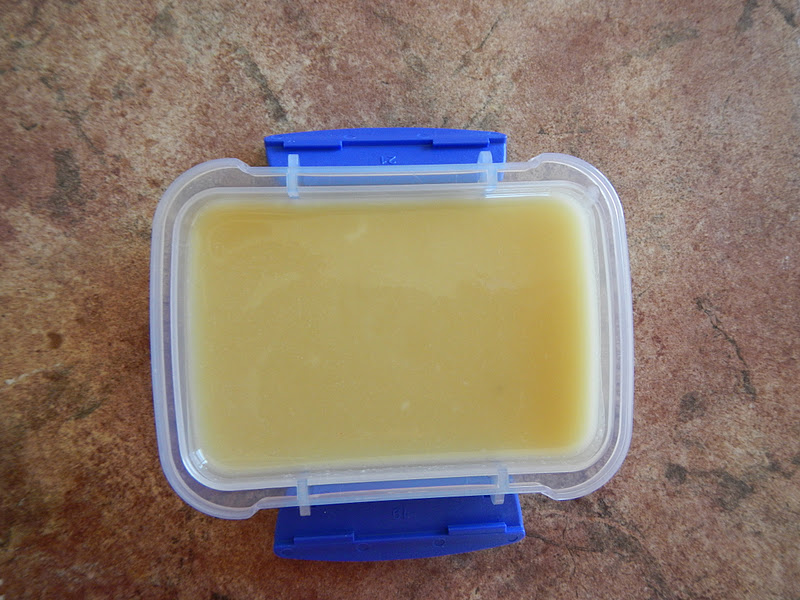
Then pour it into a small container, and put it into the fridge to set. I keep mine in the bathroom for convenience, but you can keep it in the fridge if you prefer.
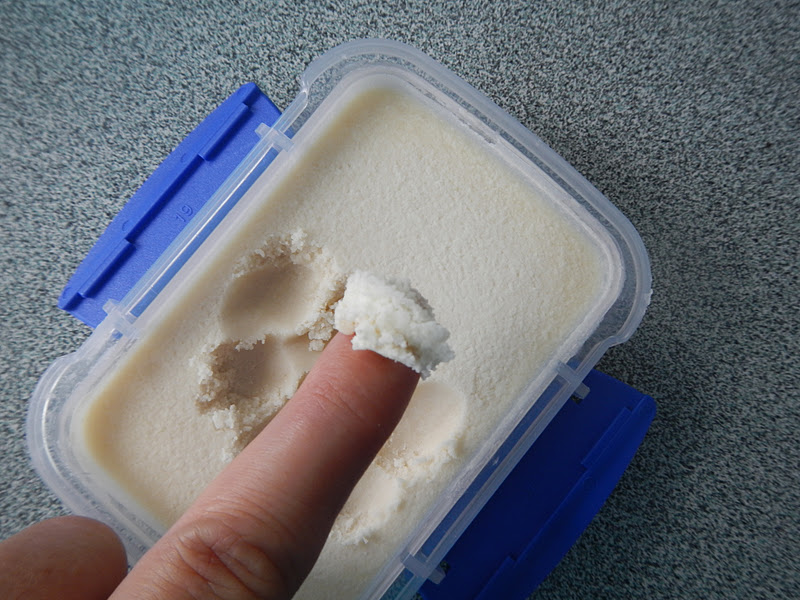
To use it, I just scrape a pea size piece out with the back of my finger...
And rub it a bit between my fingers to soften it. When it gets creamy like this, smear a thin layer under your arms. Easy !
I don't particularly like 'smelly' things in my homemade skin care products, so I choose not to use essential oils. I like my stuff fragrance free, but that's just me. Feel free to add whatever essential oils you like to this recipe. TeaTree, Lavender, Rosemary and Eucalyptus all have anti- bacterial qualities and are great for odour protection. Oils of orange and ylang ylang are also a nice combination to use.
I used glycerin in this recipe, simply because the first batch I made was quite hard, and took a bit of effort to soften it. Using the glycerin makes it much softer and easier to use.
You can also add Vitamin E to your deodorant. Vit E is a powerful anti-oxidant. Great for your skin, and also great in homemade preparations as it increases shelf life by slowing the oxidation of any oils you might be using, so they don't go rancid.
OK,. so that done, bear in mind that this is a DEODORANT, not an ANTIPERSPIRANT. Big difference. An antiperspirant stops you from sweating, which is not necessarily a good thing. Antiperspirants contain aluminium salts which clog your pores, thereby stopping you from sweating. Sweating is a natural process that allows your body to cool itself when it gets too hot.
The aluminium can accummulate in your body and your brain. Are the alarm bells ringing yet?? AND aluminium accumulation has been linked to Alzheimers Disease and Breast Cancer. Now, although the evidence for these things may be inconclusive, would you risk it? Really, would you?
OK, enough of the scary stuff, I was talking about deodorants and antipersiperants. A deodorant won't stop you from sweating, however it will stop you from smelling stinky, and that's what I'm talking about !! Deodorants neutralize odour, if you want the more proper term !
Another interesting point to consider - the more toxins you consume in your diet - I'm talking junk food, processed foods etc - the more stinkier your stink will be than if you eat a clean diet consisting of more whole foods, fruits and veges etc.
I hope you give this a try at home, it really is an easy step towards 'greening' your bathroom. I guess the hardest part will be sourcing the shea and cocoa butters. Here in Australia, I buy most of my ingredients from
Escentials of Australia in Noosa, QLD, they have pretty much everything you could possibly need to make your own skin care products, and more. You can also try your local health store, they may sell some raw ingredients in small packets.
I'll be posting more skin care recipes this year, so you'll have the opportunity to use up your ingredients.